Tuesday, January 21, 2014

You Learn Something New Every Day

I decided I wanted to take another run at the JustRite Stampers challenge #112. Just to remind you, it is a colour challenge as seen in this photo.

JRFC112

And this is my second card using these colours.


So what did I learn that was new, you ask. Well I was not sure if it would work, but I decided to try using a Spellbinders die to cut through two layers of card stock. Lo and behold, with a little perseverance and 6 runs through the Grand Caliber, it worked!! My excitement made up for my disappointment in the fact that the Curved, Scalloped, and Bracket borders are all only 6 " long and I make most of my cards 5X7. I need to send a strongly suggestive message to Stacey over at Spellbinders. But I digress. Where was I? Oh yes, die cutting two layers. To make things even trickier, because my card is 7", I had to shift the trellis die after the first cut was complete, line it up perfectly and run it through again several times to get the last inch cut.


For the top label, I used the peach coloured gelato and a baby wipe to create the light peach tone on white c/s before stamping the image. Then after die cutting, I decided it all needed the colour to be a bit more saturated, so I sponged on some VersaMagic pumpkin spice on the edges and over the center section.


The little flowers on the bow are a retired item from Stampin'Up! that only came in ivory, so I coloured them using my aqua brush and some dye ink that I applied onto a craft sheet using the Marvy ink pad. I attached them to the bow with Ultimate glue. Sorry about the photo. Focus, girl, focus.


And, of course, the inside.

I am still not completely thrilled with the finished product and may give this one more try, though I am running out of time for the deadline.


Stamps: JRS Celebrate Today Vintage Labels.
Papers: Graphic 45 Secret Garden, Bazzil red and blue c/s, SU white c/s.
Dies: JRS Vintage Labels 4, SB Floral Ovals, Classic Ovals, Fancy Lattice
Inks: Ranger Distress Broken China, VersaMagic pumpkin spice and cranberry, Marvy light orange.
Other: SU white satin ribbon, SU ribbon flowers, Ultimate glue, 3M foam tape, Zots glue dots.



Monday, January 20, 2014

A Bunch Of Juliet

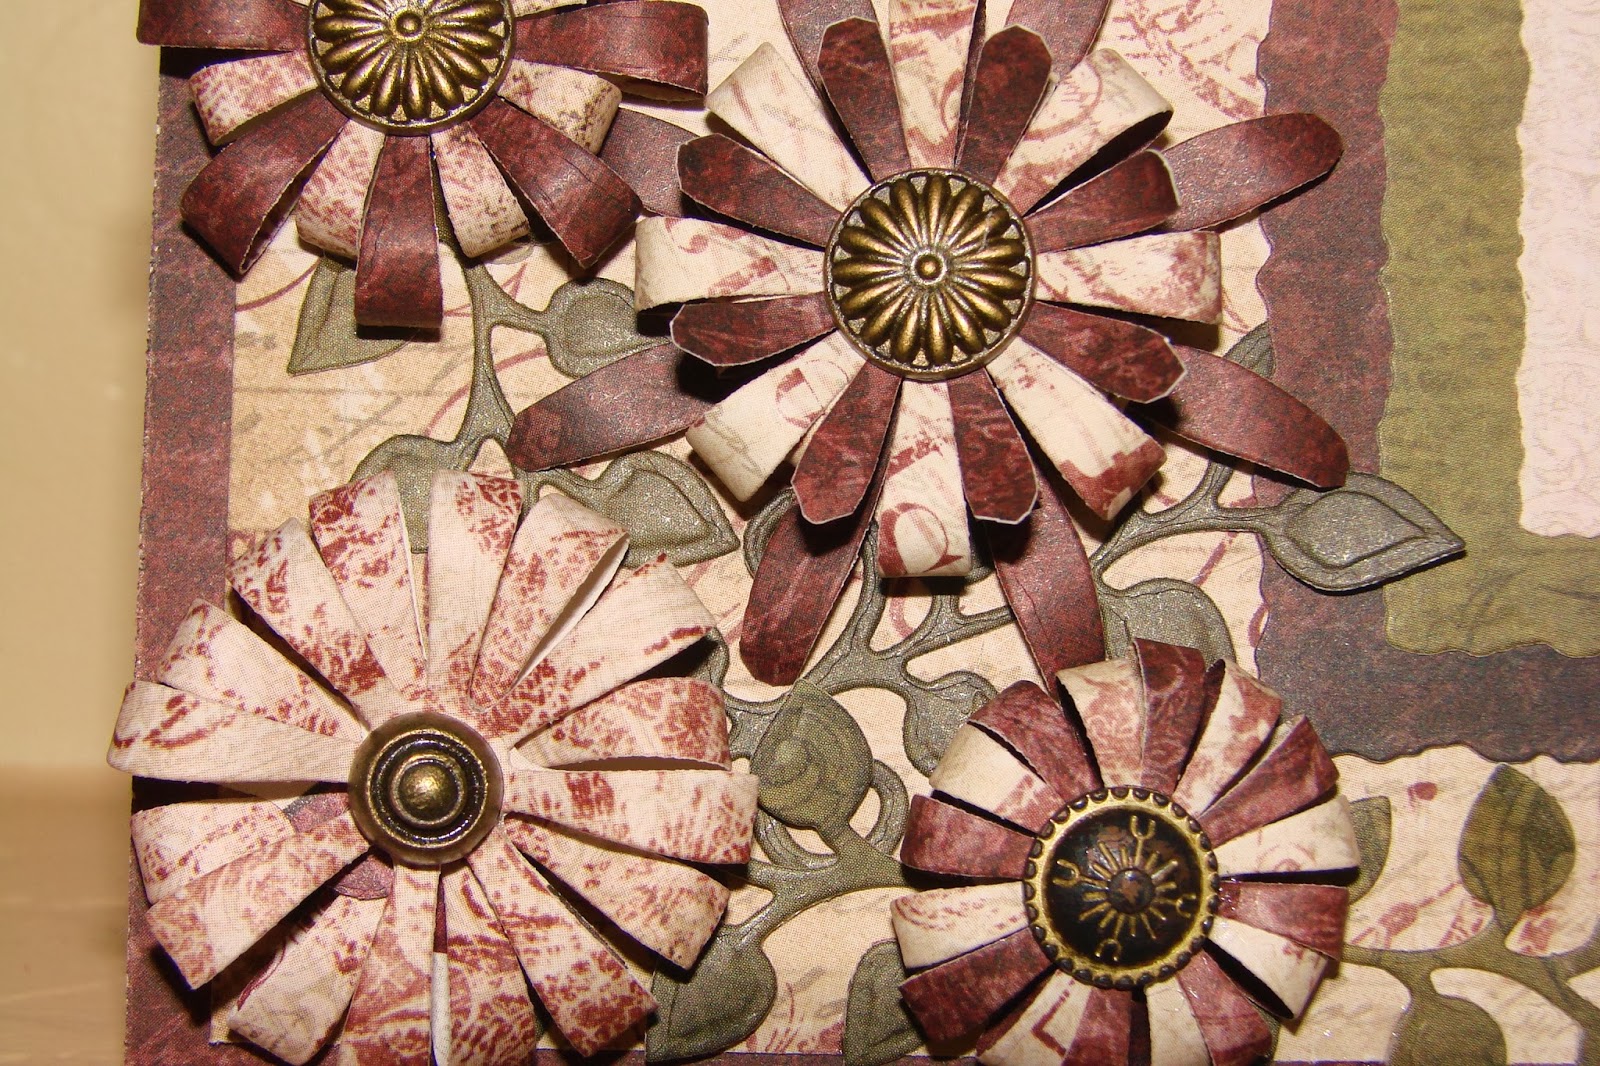
Today I worked with a fun die from Heartfelt Creations called Sweet Juliet. The first time I saw it, I could not figure it out but now I adore the unique blossoms it makes. I think one of the things I like about it is you don't have to stamp something first, and then line up the die properly. Just lay the die on the paper and run it through the machine.


All the patterned papers I used (which is all the papers in the project) are also from HFC. I may have mentioned in the past how much I love them. The collections I used are listed below. Even the blossoms were made from patterned paper. Some of the lighter petals are from the same paper as the top mat with the words; you really can't tell when they are put together and it gives such nice texture to them.

If you look closely, you will see that I used 3 different types of brads. Also, the flowers where adhered in two different ways. On the back of the larger ones, I attached a square of foam tape with Zip glue, then used more Zip on the foam square to glue it to the card. The smaller blossoms were adhered with Diamond Glaze.

I dug out a set of dies that I have not used in a very long time, but that seemed very suited to the style of the card.

As you can see, I did not do much stamping on this one. I hope you like it anyway.


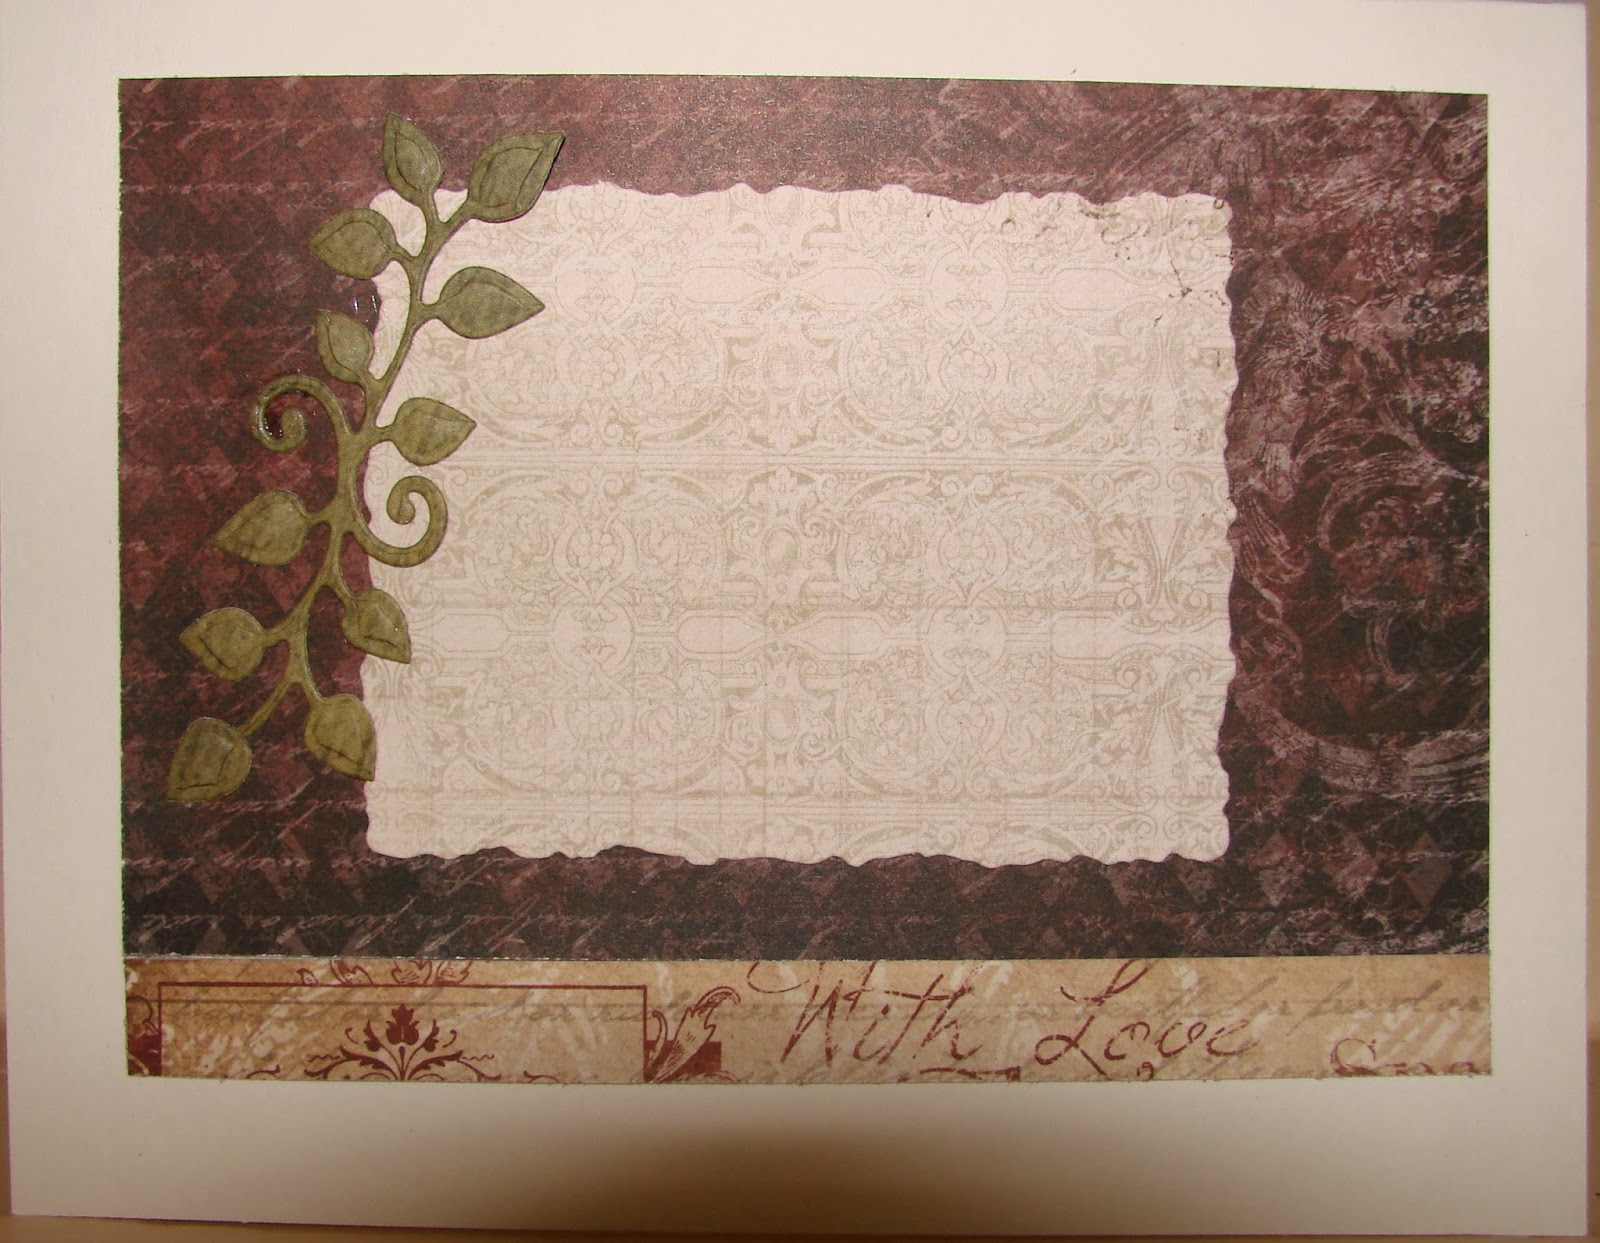
On the right, you can see the inside of the card.


Stamps: HFC Heartfelt Expressions
Papers: HFC Antiquity, Recollections Card Base, Stampin'Up! ivory, I also used some retired HFC             paper for the green bits.
Dies: Spellbinders deckled rectangles, HFC Sweet Juliet.
Ink: Memento eggplant.
Other: Stampin'Up! and Graphics 45 and Spare Parts brads, Diamon Glaze, Foam Tape.


Saturday, January 18, 2014

One For The Mail

Yes indeedy, I decided to make a card the would go through the mail in a regular envelope with no extra postage. This is hard for those of us who are addicted to our embellishments.


Once again I went to my favorite papers with the Heartfelt collections. And I decided to stay with HFC all the way.

There is not much to explain here. I did smudge the greeting the first time I stamped it and that led to an opportunity to improve the overall design with the oval die cuts.

I just got a parcel in the mail from HFC, with some of their newest papers, stamps and dies. So I suspect you will see something with these products. Meanwhile, take some time to get your fingers inky.

Stamps: HFC Heartfelt Expressions.
Papers: Recollections card base, Stampin'Up! ivory, HFC burst of splendor.
Dies: HFC decorative lattice swirl, Spellbinders classic ovals.
Ink: Archival coffee

Thursday, January 16, 2014

Aaaaahhhhhh.........

Well the last of the eggnog has been drunk, the decorations are safely packed away for another year, and I have seen my last snowflake of the season. I am safely back in my southern home and finally back in my craft room again.

For my first post of the new year, I have decided to try another JustRite Challenge - #112. This one is a color challenge - green blue, lipstick red, and peach puff.


JRFC112

I had to go out in search of some cardstock as my limited supply here did not include these colors. I hope what I was able to find is close enough to the requirements.


I also picked up some paper flowers at Hobby Lobby - Spare Parts.   I stamped the background stamp using brown permanent ink, heat set it, then lightly applied the peachy colored ink with a baby wipe.

I attached the blossoms with quick dry paper glue.

Inside, I attached some separated petals along the border with glue dots.

Stamps: JRS French Rose Background, JRS For All You Do

Vintage Labels, JRS Large Fancy Sentiments.

Dies: JRS Vintage Labels Three; I do not know the brand of the lacy circle and the inside borders.  (They are the first thin dies I ever bought and at the time did not have a blog so never thought I would need that info.)

Cardstock: colored c/s brand unknown - purchased at Hobby Lobby, Stampin'Up! white.

Ink: VersaMagic pumpkin spice, VersaMagic turquoise gem, Archival coffee.

Other: Spare Parts paper flowers, Zip dry glue.


Wednesday, December 4, 2013

My First tutorial

Two posts ago, I mentioned that I made the sparkly silver paper bow manually because I do not own the SU die that cuts them out for you. So it occurred to me to show you how I made the bow in a few simple steps.

First, this is the finished product, a birthday card for my good friend and fellow crafter. In fact, Wendy is the lady who first got me into rubber stamping and paper crafting. Here's to you, my friend. 


This picture is of my original pattern pieces, with a few dimensions written on them. I drew these pieces freehand, then worked with them to get them even. Cut 2 each of the bottom two pieces and l each of the top two.


I traced them with a pencil on the back of the paper I wanted to make the bow from, then cut them out. Here are the six pieces of the bow cut out and ready to assemble. 


And this shows the start of the assembly. I used a pencil to curl the pieces around , and then glue dots to hold them together. After I attached the five largest pieces together, I wrapped the small rectangle around everything and fastened it with glue dots.

Finally, I adhered the finished bow to the front of the card.


The patterned paper is from HFC's newest collection, Antiquity. The card base, bow and solid coloured diecuts are made with a great Swiss dot pre-embossed paper by Bazzil in the colours; Clover Leaf and Blissful.

The greeting, stamped with VersaMagic - Hint of Pesto - on a scrap of the same paper, is from the Justrite set, Celebration Labels One. I diecut the three layers using Spellbinders sets; Labels One, and Decorative Labels One. 


The inside is another square of the patterned paper with a handwritten message. Very quick and simple, and again, I am pleased with the look of the bow.


I hope you can put this information to use in your own creations. 

This will be the last post for a month or so. Now is travel time and Holiday preparations. I will try to get back at it by mid Jan. 

Meanwhile, I hope you all have a wonderful holiday season. And when it all gets too crazy, take some therapy time to get your fingers inky!! 


Monday, December 2, 2013

CASEing My Heart Out

That's right.; another case today. I came across this beautiful card and fell in love. But I don't own the Spellbinder 3D embossing folder, Rustic Wreath (yet) so I had to improvise.


Cut a piece of diamond sparkle c/s (Bazzil) to 4 3/4 x 6 3/4".

Are you noticing a theme yet? I love the Bazzil sparkle papers for Christmas cards - just as I love the velvet papers.

Okay. back on task. Run the paper through the die cutting machine with the Spellbinders 3D embossing folder - Basket Weave. Then lightly rub a Brilliance Pearlescent Beige ink pad over the front of the embossed paper until you get the amount of ink you like on the design. You want the most debossed areas to remain white for contrast. Attach the finished piece to the front of a 5x7" white card.


With the Build-a-Wreath die set from SB, cut the wreath and 10 extra branches from the Bazzil c/s. Attach the wreath to the front of the card. Shape the branches, then attach around the wreath with glue dots. Use glue dots or crystal effects to attach 5 small 'clumps' of red rhinestones (from stash - no brand name) to look like berries. Do not have the exact same number of 'berries' in each clump.


Die cut a round ornament shape from the white c/s with the round ornament die from Justrite's charm die set. Leave the die cut in the die and sponge on the Brilliance ink , then remove and stamp the greeting (Justrite - Festive Poinsettias) with red ink. Loop a piece of gold embroidery floss through the hole of the ornament, then attach just below the wreath with a glue dote.

Make a messy bow with 1/4" red satin ribbon and attach to the card with another glue dot.

I think the finished product looks quite a bit like the original. I have not finished the inside of this card yet but must set it aside for a few days.

That is the last of my Christmas cards for a while. I have all my 'special 'cards made, as well as all 90 of my other Christmas cards signed, addressed and ready to drop into the mail when I get back home next weekend. I do have a couple of birthday cards to get made for next Tuesday so I will have to get at those next. I may try to post them before we leave but time is getting tight and we have painters coming on Monday.

Meanwhile, find the time to get your fingers inky.

Friday, November 29, 2013

Dangling Snowflake

Wow. I am feeling very prolific these days. After such a long dry spell, I am posting my little hear out  ;)

This is another creation I came across online at Splitcoaststampers and had to try. As always, I put my own spin on things.


Start with a white tri-fold 5x7" card (from The Paper Cut). Cut a x7" piece of blue sparkle c/s (Bazzil) and attach to front panel of card. Center the second smallest die from Spellbinders Grand Ovals on the front panel and cut through both layers.

Create the paper bow using glitter paper (Recollections). You can purchase a die from SU that will do the job, but of course, I do not have it so I improvised by hand. It is built from 6 separate pieces put together with glue dots.

Using the stamp set Festive Flurry from SU, stamp and emboss as follows;
 - with the smallest stamp on white c/s and white Incredible ink, emboss with white sparkle EP. (Comotion)
 - with the next stamp on the blue Bazzil c/s and blue Incredible ink, emboss with Rain Forest EP. (Stampamania)

Now use the coordinating SU snowflake dies, cut the two embossed items, as well as two of the second largest die from the silver sparkle c/s. Also die cut the word Merry from the silver c/s with the SU die from the expressions set.


Cut a 4" piece of narrow silver ribbon (SU), fold in half, and secure the ends sandwiched between the two silver snowflakes, then glue them together, back to back. Adhere the two embossed snowflakes on the silver one. Attach the ribbon to the front,top of the oval opening, then attach the paper bow. Glue Merry on the bottom with Dries Clear glue.


Cut 2 pieces of white dazzle c/s (Bazzil) 5x7". Attach one to the front of the inner flap of the card. Trim to fit so the card will still close. With the largest snowflake stamp and the same blue ink as above, stamp and emboss. Trim the second piece of white c/s to fit the inside of the card. Stamp snowflakes randomly around the edge of this piece with the white ink, emboss with white sparkle EP. Stamp 'Merry Little Christmas' (SU) with the blue ink and emboss with the blue EP.

This is not a card you would want to mass produce, but the results made me very happy.

I hope all my American friends had a great Thanksgiving yesterday.