Thursday, April 12, 2012

Southern Comfort

Wow. I can't believe a whole month has flown by since I last stamped or blogged. We have been so busy here with company that getting all my supplies out and occupying the only workspace I have here, the dining table, has been out of the question. 

This card is for my cousin who lost her husband and I will have to put it into the mail today, so I had to get the pictures taken quickly.


The textured ivory base cardstock is Bazzill as is the mat and the larger oval mat. The c/s for these latter two is called Two Scoops (orange sorbet) and is already embossed with that pattern. The oval is the flip side of the paper which is two colours.

The stamps are from Heartfelt's Floral Cross collection; Malabar Clematis, Twining Clematis, and Cross and Lilies. I also used HFC's matching Cross and Lilies Die to cut the cross and the flowers. I used a cotton swab (I know!) and SU inks (Pear, Peach, and Coral) to colour the flowers, leaves, and stems. Then I shaped them and layered them on the Stamped cross image. The cross was then attached to the card front with foam dimensionals.

 I stamped one spray of flowers separately on Ivory c/s and fussy cut it into two, then added some more shaped flowers to the sprays.

I die cut the peach and ivory ovals with Spellbinders classic oval dies. The ivory one was left in the die while I sponged on some coral ink. Then I removed it, added the sentiment from the cross set with black memories ink and attached it to the peach oval.

The scroll medallions behind the oval were die cut using HFC's Decorative Butterfly Border Die. These were glued to the mat and then the oval piece was added with foam dimensionals. Then the sprays were attached using a combination of glue and dimensionals.

The final touches to the front were the pearls and some Flower Soft in the flower centers.

On the inside of the card, I stamped the greeting from the Cross and Lilies and two sprays from the Twining Clematis which were coloured as on the card front.


I really love these new sets from HFC and I think I will get a lot of use from them.

Thursday, March 8, 2012

Taken with Teal

Another post, another VLV sketch. This one is week #3 for February.


I began with a beautiful piece of patterned paper from Graphics 45 collection, Once Upon a Springtime. I cut the four panels and adhered them to a base made from Core-dinations c/s . Then I cut two lengths of ivory seam binding, angled cut one end of each and attached them to the card side by side, trying to make it look like a single piece of ribbon..

I die cut the beautiful lacy circle with the brand new Sizzlits Die, paper doily,  from SU.  The c/s is again Core-dinations in a beautiful deep teal. I decided to back the die cut so I cut a circle from ta lighter teal Core-dinations c/s using SB's lacy circle die. I would have preferred a simple scallop die but don't have that with me. The limitations of crafting while travelling frustrate me sometimes. I used the same lacy circle for the ivory background circle, which I sponged some ink onto while it was still in the die. I did the same with the sentiment circle (SB).

I used ColorBox pigment inks and the sentiment stamp is from the Stamper's Anonymous Tim Holtz stamp set, Nature's Moments. The butterfly is from Nature's Discovery. The beautiful jewel brad is from HFC, and finally the ribbon is SU's ivory seam binding. I used some foam dimensionals to attach the sentient circle and the butterfly

I think I liked this better towards the beginning of the design process when I had fewer elements on it, but I kept going so that it matched the sketch. I find it a little too busy now. Oh well. I may revisit this one at a later date.


Monday, March 5, 2012

A Rubber Stamp Weekend.

The the first of our company arrived from Alberta. I am so happy to have my BFF and her husband here for 10 days. I have known Mary and David for ... well let's not count the years and just say we met in University back in Saskatoon (that is in Saskatchewan for any visitors here who are not Canadian). That is also where I met my husband; we were all in the College of Pharmacy. Since most of us are now retired, I'll leave you to guess at how many years ago that was.

As is usual for me, I woke up much earlier than anyone else in the house, so I made some coffee and now have time to post - yay.

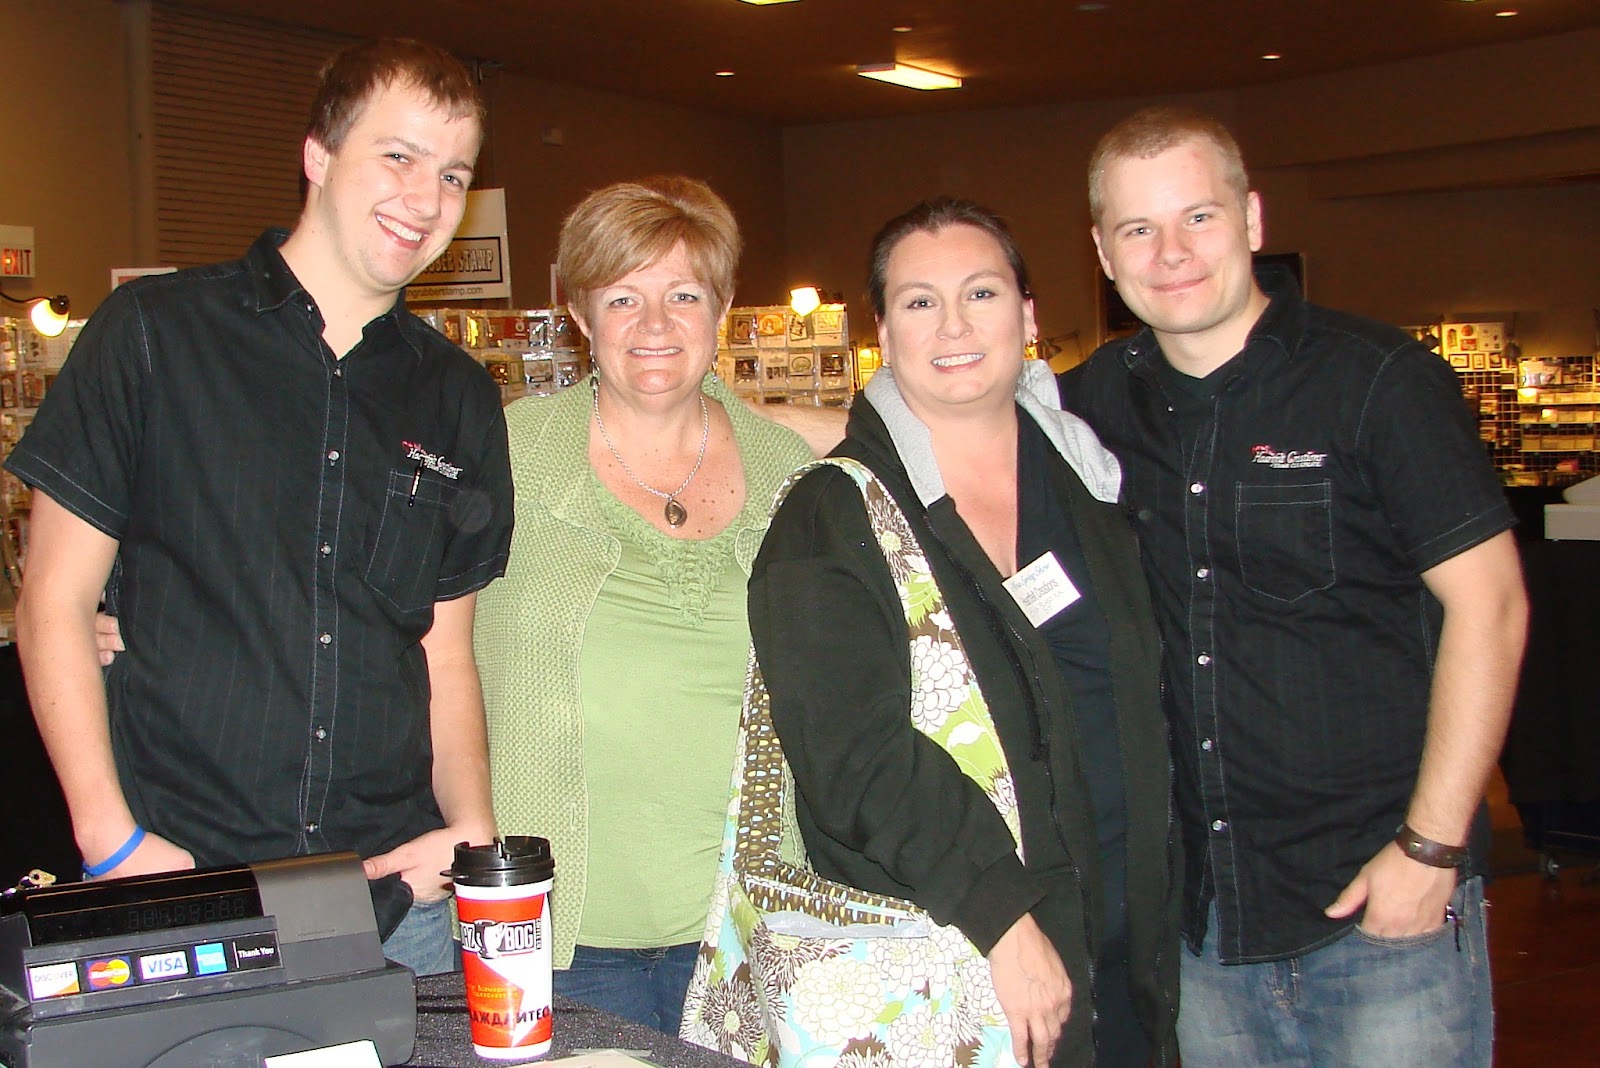
This past weekend, I again had the privilege of working at the Heartfelt Creations booth at the Mesa Rubber Stamp Event. I showed the Make & Take to the crafters who visited the booth. As always, it was great fun and I met a bunch of wonderful people, friends new and old. Big hugs go out to Lisa Blastick, my co-volunteer and a member of the design team over at HFC. Also special mention to Mitch and Caleb, the young men who run the booth and make it so much fun. They are just so enthusiastic and energetic, not to mention good salesmen and gentlemen!

My friend, Nadine, who was in town for the weekend, took this picture of us at the end of the day on Saturday. Thanks, girlfriend; I had a great time during your visit.

Are you wondering how much I spent at the event? That is another of those things that a lady never reveals, but I will say, I had a shopping list and I tried very hard to stick to it. It helped that my shopping time was curtailed, what with doing the M&T. Now I am anxious to try out all my new goodies.


One last parting shot of the M&T I demo'd at the show. They are just too stinkin' cute. I brought home a few of the many I made. Lots of ladies stopped by to make one of these darling little favour boxes, and we sold out of the packages of boxes by the end of the day.

My coffee has run out, so it must be time to run. See you all soon.


Friday, March 2, 2012

Poppy Fields

For the Feb. week 4 sketch over at Verve stamps, seen here -


I decided to work with a wonderful piece of pattered paper from |the Graphics 45 collection, The Magic of Oz.  As you can see I twisted the design 90 degrees.


I love the colours and the vivid poppies. I pulled out the deep coral and the green for my base, matt, label and ink. The base paper is Core-dinations, the perfect pear green is SU, and the circle is vanilla, also SU. I sponged the circle with poppy ink (SU) before removing it from the die. Both circle and label (#18) dies are Spellbinders.


The vertical contrast paper is the back side of the poppy paper. I also cut out one of the poppies from the paper to adhere to the label. Both the circle and the poppy are attached with dimensionals.

Finally, the sentiment, one of about 5 that I have along with me, (unless I go shopping of course - hehehe) is from the Just Rite set, Fancy Labels.

That's it. Pretty straight forward. Another great sketch that is a keeper for those times when the mojo is not working. I hope to have time next week to post - depends on whether my company sleeps in or not!!

Thursday, March 1, 2012

Long time, no see

Hello fellow bloggers. Well it has been a long dry spell on this blog site. I have been busy settling in to our AZ home and have not done much card making. I did, however, over the last week, try to use all four Viva La Verve layouts for February with varying results. I will be posting them over the next few days. I did not enter them into the Verve contest this month, but I will try to get more organized for March. No promises tho' - :) I do have company coming for most of March.

On to the first Feb.#1 VLV post. Here is the layout I employed....


.......and here is the result. Have I mentioned that I am loving these VLV sketches. I find them to be very inspiring.


 I began with a wonderful little pad of peel and stick designer papers by K&Company. I love the colours and the floral design called for me to use my brand new die set from Spellbinders, Carnation Creations.

The card base is a light turquoise shade of Bazzil basics - it is from my scrap pile so I am not sure of the exact colour. It has a lovely shimmer to it.

 I cut 3 of the largest and 1 of the second largest multi-petal flowers from white c/s and sponged them with 3 shades of distress ink: tattered rose, milled lavender, and dusty concord. The last shade was applied with the flowers set back into the die on the larger petals, and to the tips on the smaller flower. After punching a hole in the centers, I used a silver floral element and a rhinestone brad  (SU) to pull it all together.


Finally, I applied some lovely rhinestone swirls from Recollections, then attached
the flower element with sticky strip.

I just want to mention now that my brain was not in gear when I packed my craft supplies for this trip south. Having just returned from my father-in-law's funeral, I was a little distracted. One of the things I did not pack along was any sentiment stamp sets. You will notice this on my cards for the next few weeks. I only have what happens to be included in any image stamp set.

On this card, I decided to leave out any sentiment until I want to send it to someone.

Well that is it for the week 1 sketch. I am pretty happy with this one - simple and quick to put together. I must remember this layout when I need another quick card.

I hope to post again soon. See you then; meanwhile, get your fingers inky.


Thursday, February 2, 2012

Exhibit C - Sunny Days


Well, I did it. I got all four cards made for the Verve January challenge. Ironically this was the first sketch in the series. I did everything backwards - what else is new.

Here is the sketch. You can go to Splitcoast Stampers Gallery here to see all the other entries. There are lots of beautiful cards and many interesting variations on the sketches.

The patterned papers from K & Co were my starting point. The base and mats are chocolate chip (SU). The crochet trim and the antique brads are also SU. The crochet lace circle under the label was some by-the-yard trim I bought at Joanns. I stitched a running thread through the bottom edge and gathered the trim to make the circle. The stamps are from the Verve sets 'Tag Time' and 'Let it Shine'.  I stamped the label outline, then the words (both in chocolate chip) on some of the background pattered paper, and trimmed around  it by hand. finally, I set the label stamp down on the green pattered paper and, with a pencil and small  washer, traced around the stamp to create the mat. This, I also hand cut. I added some thin cardboard behind the whole label section to give it a bit more body, then attached it to the card with foam squares.

Oh yes, I sponged some vintage photo distress ink around the edges of every piece of paper before putting anything together.

Well that is it, and I may not be doing many posts for the next little while. We have a quick trip to make for a family emergency, then home to pack and leave for AZ and many sunny days. I will have to see how it goes with the computer time. Meanwhile,you all keep on stamping.